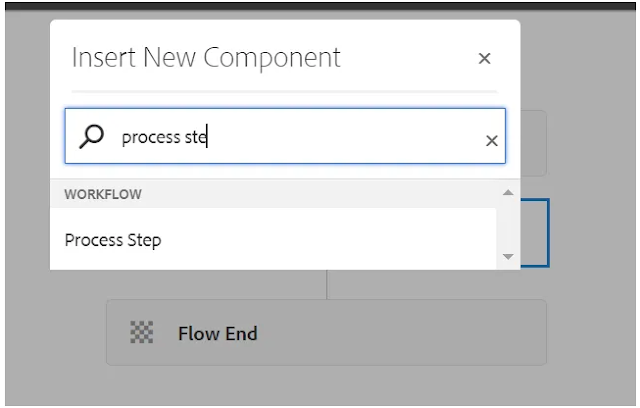
Process step is allow us to execute ECMAScript or OSGI service.
- Implement WorkflowProcess interface and override execute() method to create custom workflow process. Refer this URL to read more about workflow, model and its steps.
Follow below syntax to implement workflow process .
- WorkItem: This contains workflow data as shown below.
- WorkflowSession: It provides the complete capability to manage workflow models and instances. Workflow session allows us to provide complete on workflow model, items, active items, workflows(running, abort, completed).
- MetaDataMap: It provide access to data map and arguments passed as an input.Process Step Implementation.
Process Step Implementation
- Follow below step to create process and consume as part of workflow process.
1. Create a Java class. Implement WorkflowProcess interface and override execute method.
2. Create workflow model and process step to consume above created custom process step. Open URL and click on Models tile for navigating to Models section.
8. Configure Process Step and provide above create custom step as part of step1.
9. Click on Sync will pick latest configurations from workflow model while execution.
11. Select workflow created earlier as shown below and click on Start Workflow to start workflow execution.
12. It will call execute() method from CustomProcess.java class as soon as click on Start Workflow button.
Custom Workflow Step with dialog in aem
- A custom workflow process is a backend module that can be individually deployed to AEM. Once you deploy this custom workflow process in AEM. it will be available inside a process step dropdown.
- It does not have its own dialog. If you need to pass some values to this, you must use the existing dialog of the process step.
- This is not applicable on the workflow model page.
- If you want to create a custom workflow step, you need a component (only a dialog) and an
editConfignode. - A custom workflow process is an individual module that does not need a custom workflow step to work; it can be deployed individually to AEM.
- A custom workflow step needs a process and a custom workflow process
4.Set the path in open properties
5. Configure the Custom Workflow Step to add our Custom Step.
6. After authoring the Custom Workflow Step.
7. We found our dialog, which we created for the customized workflow component.
9. Write a custom workflow process
10.Your workflow is created. You can try running it.
11. In the Logger, print FirstName, LastName, and title.
12.You can see that your custom workflow process step is working properly, which is why it shows in the archive.

Hope You can complete or step back the workflow step to take the necessary actions.
Thanks for reading
Matri Sharma
Quotes of the day
Just one small positive thought in the morning can change your whole day.


No comments:
Post a Comment